Contact Form with File Upload
With the AidaForm online service, you can create a contact or any other online form with a file upload in several minutes! Simply drag and drop one or several ready-to-use File Upload fields to your form and choose the required settings. You don’t need to have any coding or HTML skills to create a contact form with file upload functionality and to add the form to your WordPress, Wix or any other website. Read about the advantages of creating your form in AidaForm or add the template to your AidaForm account to customize it and start using it today!
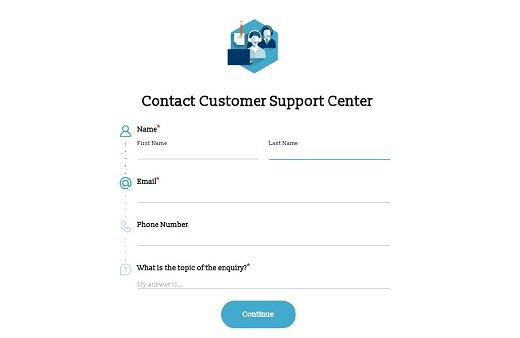
This sample online form with attachments field is a customer service contact form and it asks you to provide a problem description and to optionally attach files in .PDF, .PNG or .JPEG formats. The template employs a custom ‘Thank you’ page and has the functionality to automatically send ‘We’ve received your message’ notifications to the respondents’ email addresses that you can activate if needed.
Advantages of Creating Online Forms with Attachments in AidaForm
Secure forms with file upload
All attached files, along with other information collected on the form, are securely transferred via protected channels and are safely stored inside your AidaForm account. Only the account owner has access to the files and data, so you can be sure your valuable information doesn’t leak and your business stays GDPR and DPA-compliant.
Flexible settings for the File Upload field
In AidaForm, you can allow multiple uploads for one File Upload field or restrict a File Upload field to collecting only one file. Would you like to limit the size of files uploaded on your contact form? A special setting lets you set it between 2 and 100 MB.
Set the formats of uploaded documents and pictures
Do you need a form with an image upload option and you’d like to make sure you get files in the relevant formats? You can ask your respondents to upload files in particular formats by setting file types and file type specifiers to prevent other formats from being visible for upload.
Ready-to-use embed code to add the form to your WordPress, Wix or any other type of website
If you’d like to add your contact form with attachments to your website, all you need to do is use an embed code that AidaForm automatically generates for every form. You will find the code in the Builder -> Publish section of your AidaForm account.
Email notifications with attachments and Zapier integrations
Use Zapier integrations to automatically transfer uploaded files to your Google Drive, Dropbox or any other storage space. What is more, if the total size of uploaded files is less than 5Mb, you can get them as attachments to the email notifications about a new response right in your email inbox. Read how it works
Test your contact form with upload option for two weeks for free
You need an Expert or higher AidaForm account to use the file upload functionality. But we’re happy to give you a two-week free version so you can test all the cool features of AidaForm! Just email us and we’ll get back to you within 24 hours.
How to Create an Online Form with File Upload in AidaForm
Open the File Upload Template in AidaForm
Click the Use Template button to open the file upload form template in your AidaForm account.
Customize the Fields and Design to Match Your Brand
Customize your online form with file upload: edit text and field labels, change the File Upload field settings and use your brand colors to make the form look like a part of your website.
Publish the Form and Embed It on Your Website
Go to the Builder -> Publish section of your AidaForm account and turn ON the Publish setting to make your form visible for everyone on the internet. Copy the ready-to-use WordPress-compatible HTML code to add it to your website.
Automate File Transfers with Zapier Integration
Set up a Zapier integration to automatically transfer uploaded files to your Google Drive, Dropbox or other storage space, if needed. Read detailed instructions about how to set the AidaForm and Google Drive integration.