Event Registration Form
Wondering how to create a simple event registration form quickly? We have a great idea! Try AidaForm’s ready-to-use free template — it’s fast, flexible and easy to customize.
This template is fully optimized for mobile devices and can be tailored to your needs. Upload your own logo, personalize the fonts and color palette to align with your website and set up PayPal payments if needed. It’s quick and intuitive — no need to touch any HTML code!
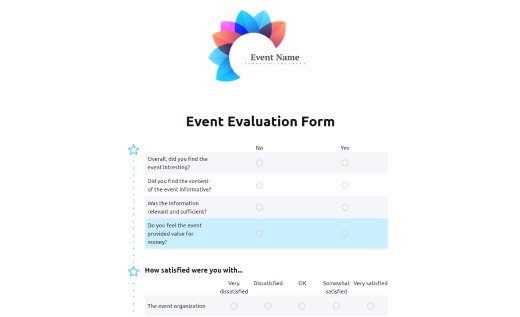
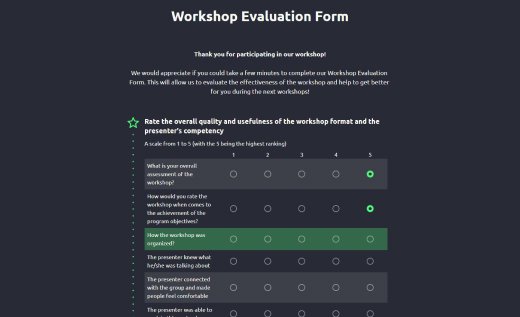
Look at Other Event Registration Form Samples

Detailed Setup Guide: How to Customize Event Form Examples for Your Needs
Quick Tips: How to Create an Event Registration Form That Gets Completed
Anticipate the Questions Participants May Have and Answer Them
People often have questions before registering — about fees, cancellations, refunds, the event schedule and more. If you can’t address all of them directly in the form, consider adding a link to your FAQ section — your guests will appreciate the clarity.
Use Familiar Labels for Common Fields
People fill out dozens of forms every week, so they’re already accustomed to essential input fields such as full name, address, contact number and email. Stick with clear, recognizable field names in your form to make it easy to complete. If it suits your event, feel free to use the default labels from AidaForm’s template — they’re tried, tested and user-friendly.
Omit Unnecessary Questions
It’s simple: the shorter your form, the higher the completion rate. Before publishing your online form, review every input field and ask yourself whether registration is truly impossible without it. Keep only the questions that are essential for participation.
Be Mobile-Friendly — It’s a Must
Many people register while multitasking or on the go. Test your form on your smartphone — it should be short, responsive and visually appealing. The good news: this is automatically taken care of when you use AidaForm!
Be GDPR-Compliant and Protect Privacy
Make sure you obtain users’ consent before collecting their personal data. You don’t have to dive into complex legal text — AidaForm provides built-in GDPR-compliant checkboxes with proper wording. Easily insert the predesigned consent fields and include direct links to your Terms of Use and Privacy Policy to ensure transparency and trust.
Use Secure Payments
If you want to create an event registration form with payment, ensuring safe transaction processing is essential. Choose trusted, industry-standard payment platforms to guarantee that your customers’ payment details remain secure. You can even export your registration data in PDF format or manage a virtual event seamlessly using AidaForm’s tools.