B2B Customer Satisfaction Survey Template
AidaForm’s B2B (business-to-business) customer satisfaction survey template helps you understand how business clients perceive your product or service — what’s delivering value and where improvements are needed. Created by our survey experts, it follows proven B2B feedback and UX best practices to help you collect clear, actionable insights.
- Balanced survey length for B2B audiences keeps the form easy to complete while capturing the additional context common in long-term business relationships.
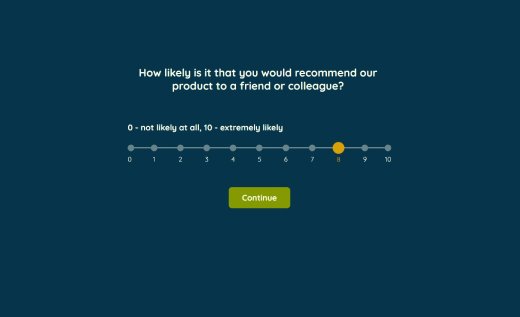
- Standard satisfaction and NPS questions allow you to track client sentiment over time using familiar, widely used metrics.
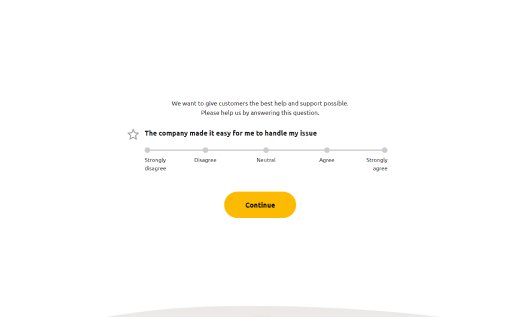
- Rating scales and an evaluation matrix focus on key B2B areas such as communication, reliability, understanding of business needs, and value for money.
- Optional open-ended questions give clients the opportunity to share detailed feedback without increasing survey friction.
Click Use This Template to add it to your AidaForm account. You can use the survey as is or easily adjust questions, logic, and design to match your business model.
Further on this page, you’ll find B2B survey question examples and practical best practices.
AidaForm features that support B2B customer satisfaction surveys
Professional, branded survey experience
Customize the survey with your logo, brand colors, fonts, and domain to ensure a consistent and credible experience for business clients.Conditional logic for targeted follow-ups
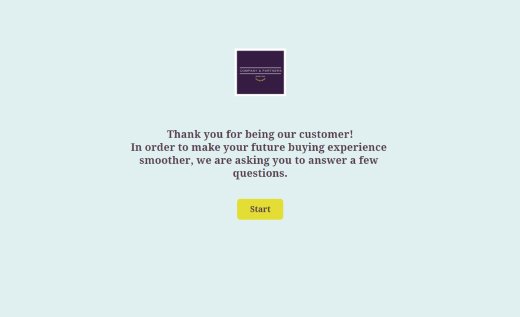
Display follow-up questions based on satisfaction scores or responses to collect deeper insights without extending the survey for every respondent.Custom thank-you messages and redirects
Show a tailored confirmation message or redirect clients to a specific page after submission.Built-in analysis and data export
Review aggregated satisfaction scores, analyze responses in dashboards, and export results to Excel or PDF for sharing with internal teams.
You can explore all AidaForm features with a free 2-week full-access trial. To get started, contact our support team and request a trial coupon.
B2B customer satisfaction survey questions
B2B customer surveys typically focus on long-term collaboration, consistency, and business value rather than one-time transactions. Below you’ll find example questions you can use as is or adapt to fit your business model, client relationship, and feedback goals.
Overall satisfaction and relationship
- How satisfied are you with your overall experience working with us?
- How well do our products or services support your business goals?
- How likely are you to continue working with us in the future?
Product or service performance
- How would you rate the quality of our product or service?
- How reliable has our solution been in day-to-day use?
Communication and collaboration
- How satisfied are you with our communication throughout the engagement?
- How responsive is our team when questions or issues arise?
- How well do we understand your business needs?
Delivery and timelines
- How would you rate our ability to meet agreed timelines or deadlines?
- How smooth was the onboarding or setup process?
Value for money
- How would you rate the value you receive relative to the cost?
Open-ended feedback
- What do you value most about working with us?
- What could we improve to better support your business?
Optional segmentation questions
- What best describes your role in relation to our product or service?
- How long have you been working with us?
B2B customer satisfaction survey best practices
Running an effective B2B customer satisfaction survey is less about asking dozens of questions and more about asking the right ones at the right time. The tips below will help you collect high-quality feedback while keeping response rates strong.
Define a clear survey goal — then choose who answers and when
Start by deciding what you want to measure. Your goal determines the best respondent and timing.
Relationship health / renewal risk: send to the decision-maker or main account contact.
Usability, day-to-day experience, or support quality: send to the primary user or the person who interacts with support after a support ticket is resolved.
Onboarding / project delivery: send to the project owner right after onboarding, a milestone, or project completion.
Try to avoid sending surveys during peak workload or crisis periods — you’ll usually get fewer responses, and the feedback may reflect short-term stress rather than the bigger picture.
Keep the survey as short as possible
B2B clients are busy, so shorter surveys tend to perform better. Keep only the questions that support your goal and remove anything that’s “just nice to have.”
If you want deeper insight without making the survey longer for everyone, use Hide/Show logic to reveal follow-up questions only when they’re relevant.
Use scores for tracking — plus short comments for context
Ratings (like CSAT and NPS) are great for spotting trends over time. To understand what’s behind these numbers, add one or two optional comment fields.
A short comment field is often enough — it’s much easier to answer than a long ‘essay’ box, but still gives you very actionable feedback.
Follow up on low scores
When a client leaves a low score, a quick follow-up can make a big difference. If you’d like to reach out, ask permission right in the form:
- “Would you like us to contact you?” (Yes/No)
- If Yes → show an optional email field
And when you make improvements based on feedback, share them with your clients. Even a simple note like “Thanks — based on your input, we improved…” builds trust and makes people more willing to respond next time.