3 Ways How to Create a Contact Form in HTML
You can choose one of the following approaches when you create a contact form for your website:
Copy a Contact Form Code
Copying someone else’s contact form HTML code is not as easy as it sounds.
If you have no experience with HTML or CSS, you won’t be able to add new
fields and change the design of your form. Then, you’ll need to run
a server with a database to send responses to as well as PHP scripts to
manage response collection.
Code Your Own Contact Us Form in HTML
You can learn how to create a contact form from scratch using HTML. Keep
in mind that you’ll still need to create a visual design for it and
configure the form integration on your website with PHP commands.
Create a Form and Collect Responses through AidaForm
There is no need to delve into these technicalities if all you want is
a good-looking and – more importantly – working contact form in HTML. You
can create one with AidaForm using a visual editor with lots of built-in
fields and blocks. Generate a form code automatically and use it right
away. AidaForm will collect responses without any additional scripts and
plugins.
How to Make a Contact Form in HTML using AidaForm
Log in to AidaForm
Create a Form
Customize the Design
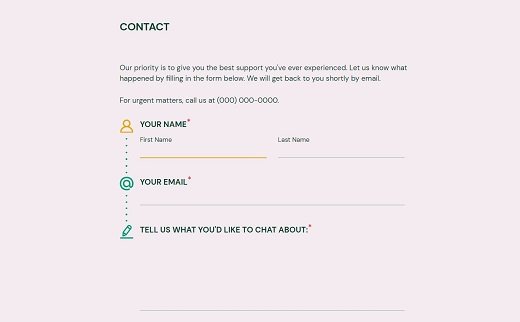
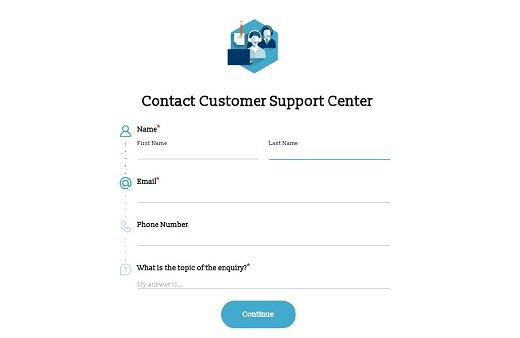
In the Form Editor, open Form Elements to add all the fields you need for your contact form: name, email address, phone, text areas, and more. Include a drop-down list for the contact topics to make your communication more effective. Customize texts for each field in their settings. Change the position of the added fields by dragging them up and down the form.
Expand the Form Designer to choose one of the standard themes. Add your logo as a finishing touch.
Finally, create a custom message that your visitors will see after submitting their requests.
Add the HTML Form to Your Website
Once you’ve done customizing your contact HTML form, click Publish to generate a direct link to the form page. AidaForm lets you safely collect responses through AidaForm without worrying about PHP scripts or databases.
Now you know how to make a contact form without coding in AidaForm. Sign up now and create your first form for free.
Build Great Contact Forms Without Coding
- Use customizable blocks for any occasion: date, file upload, multiple choice questions, Google Maps, and more
- Add signature fields, field validation, and CAPTCHA anti-spam protection
- Collect and store responses securely in your member’s area - no need to set up anything manually
How to Use a Ready-Made Contact Form Code
For those who are willing to spend time and resources on learning how to make a contact form in HTML from scratch, we’ve written a basic contact form code below. You can paste it to your website and start working on it from there. Please note, that you’ll still need to add CSS styles and set up response collection yourself.
<div class="row">
    <div class="col-md-6 col-md-offset-3" id="form_container">
        <h2>Contact Us</h2>
        <p>
            Please send your message below. We will get back to you at the earliest!
        </p>
        <form role="form" method="post" id="reused_form">
            <div class="row">
                <div class="col-sm-12 form-group">
                    <label for="message">
                        Message:</label>
                    <textarea class="form-control" type="textarea" id="message" name="message" maxlength="6000" rows="7"></textarea>
                </div>
            </div>
            <div class="row">
                <div class="col-sm-6 form-group">
                    <label for="name">
                        Your Name:</label>
                    <input type="text" class="form-control" id="name" name="name" required>
                </div>
                <div class="col-sm-6 form-group">
                    <label for="email">
                        Email:</label>
                    <input type="email" class="form-control" id="email" name="email" required>
                </div>
            </div>
            <div class="row">
                <div class="col-sm-12 form-group">
                    <button type="submit" class="btn btn-lg btn-default pull-right" >Send →</button>
                </div>
            </div>
        </form>
        <div id="success_message" style="width:100%; height:100%; display:none; ">
            <h3>Posted your message successfully!</h3>
        </div>
        <div id="error_message"
             style="width:100%; height:100%; display:none; ">
            <h3>Error</h3>
            Sorry there was an error sending your form.
        </div>
    </div>
</div>

