The integration allows you to automatically send files that your respondents
upload and submit on your form to the specified Google Drive.
The instructions below describe a basic integration that is available in free
Zapier accounts. The integration will allow you to send all files collected on
your form to a specified folder of your Google Drive and to name the files
using various parameters, e.g. Response id, Field name, File name etc. Paid
Zapier accounts allow you to fine-tune the integration, for example to collect
files for separate responses into separate folders, but the tutorial does not
cover the cases.
You need to set up a separate Zapier integration for each required form.
If your form has multiple File Upload fields, you only need to use one of them
to set up the integration.
Follow the steps to set up an AidaForm + Google Drive integration:
Before setting up an integration, make sure your form has got at least one response with uploaded files!
- Log in to your Zapier account, click the Make a Zap button and
name your Zap.
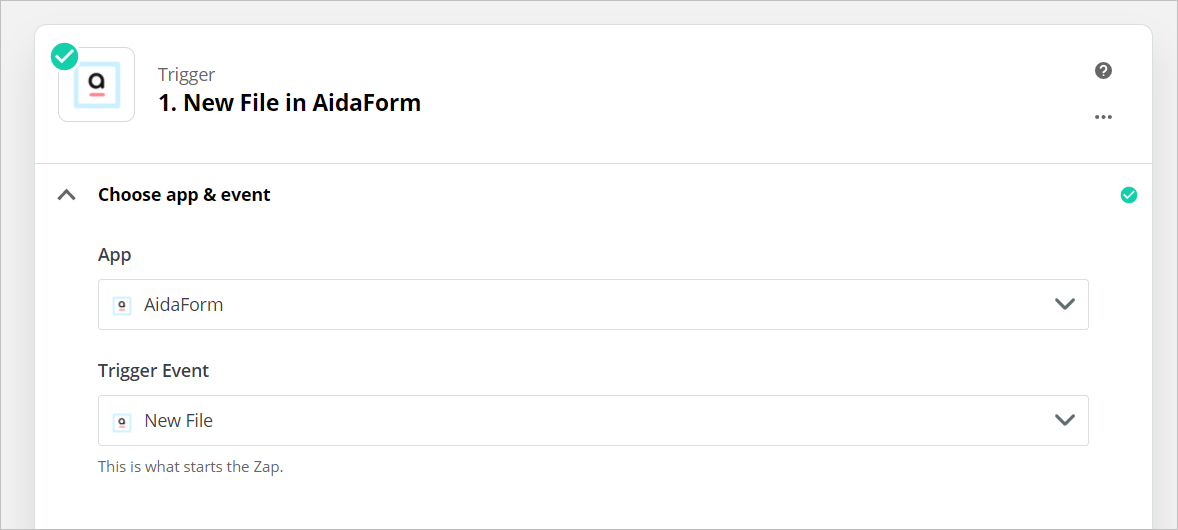
- In the 1. App Event field, find and choose AidaForm and continue to
choose your AidaForm account.
- In the Trigger Event field, select New File
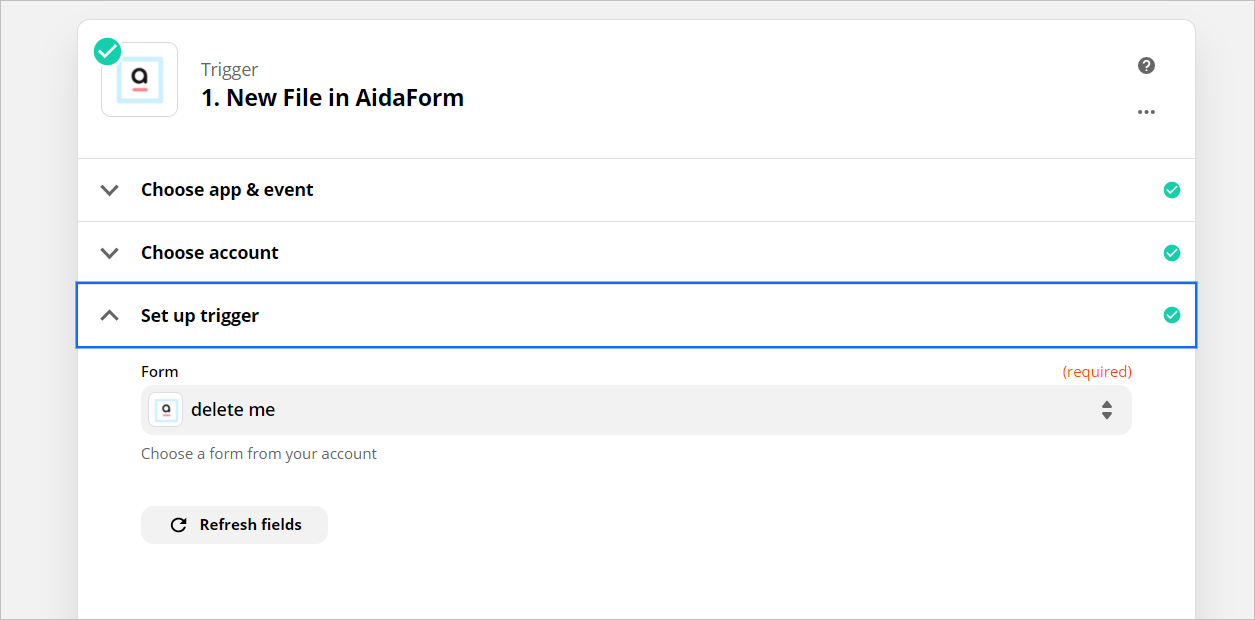
- Set up trigger: in the Form field, use the drop-down menu to
select the desired form
- Click the Test the Trigger button and then select any file from
the list of available uploaded files. Click Continue.
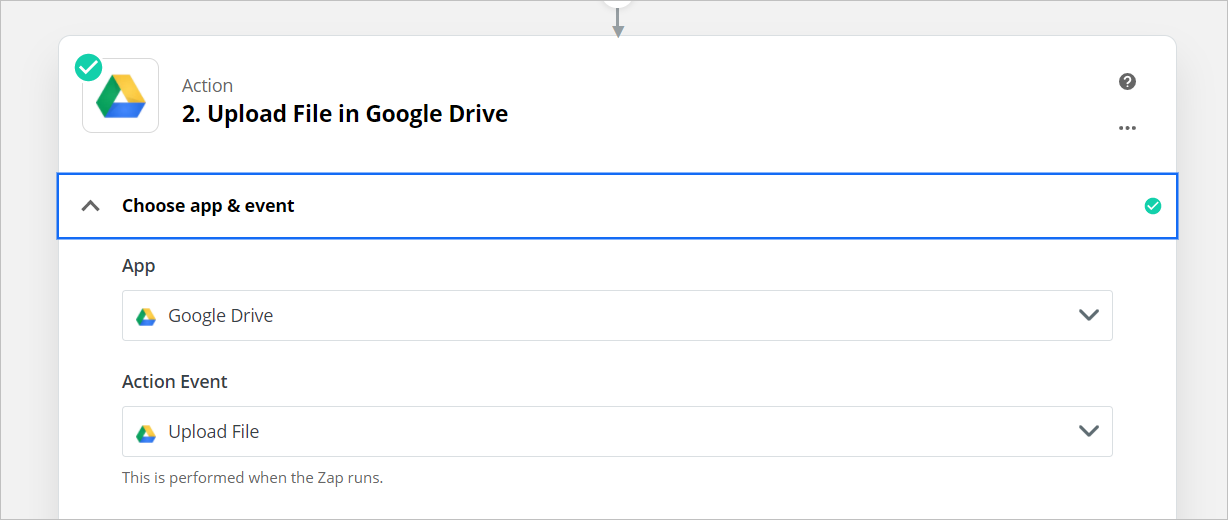
- Google Drive Setup:
- In the 2. App Event field, find and choose Google Drive.
- In the Action Event field, use the drop-down menu to select Upload File.
Click Continue and choose your Google account or connect a new Google
account. Click Continue.
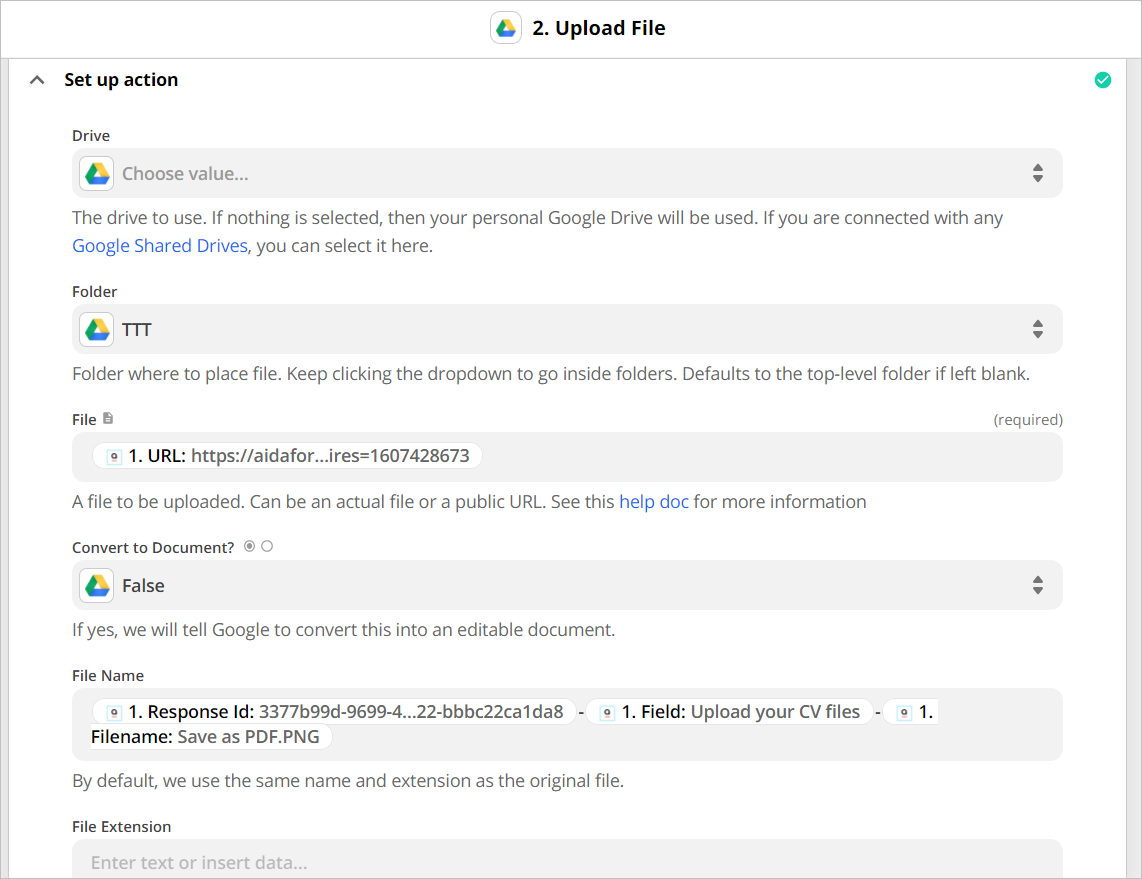
- Go through the settings of the Set up action section to fine-tune your
integration.
- Choose the folder where your files will be saved using the drop-down
menu of the Folder field.
- IMPORTANT: choose the URL option using the drop-down menu of the File field.
- Set up the name of your file in Google Drive using options available in
the drop-down menu. On the screenshot below, the name of the file will
include the following information: Response id - Name of the field that
collects the file - Name of the file.
- Click the Test and Continue button to check your setting.
- Click the Turn on Zap button to complete the integration.