How to Add a Form to My Website
Whatever form you created in the AidaForm service - contact, email, booking, registration, or signup form - you can embed the form on your website pages.
To add a custom form to your website, you need to copy the html code which is generated by AidaForm service and to add it to the required web pages.
How to Embed an AidaForm on Your Website
Log In and Create Your Form
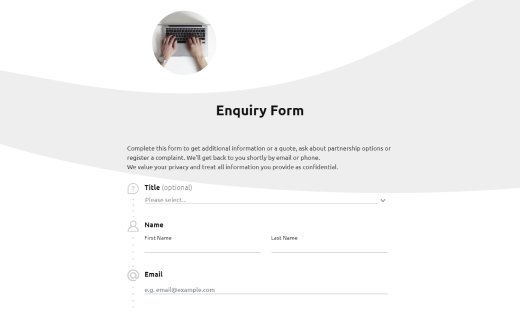
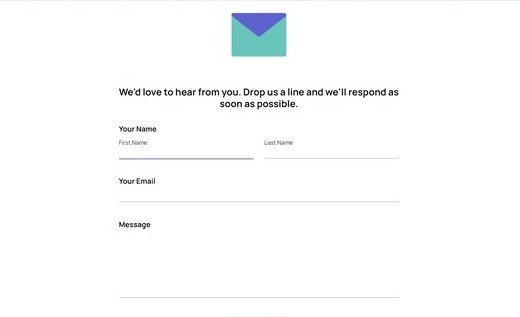
Sign in to your AidaForm account and create the form you want to embed — such as a contact, booking, or signup form. Simply drag and drop the necessary fields into place using the intuitive AidaForm Editor. No coding skills required!
Customize and Finalize Your Form Design
Before embedding, make sure your form looks just right. In the Form Designer, adjust colors, fonts, and layouts to match your website’s style. Use Preview to check how the form will appear to visitors.
Publish the Form to Make It Public
Open the Publish tab and toggle the Published switch to ON. This step activates your form, making it visible to anyone who accesses it through a link or an embedded page.
Configure the Embed Size in the Embed on a Web Page Setting
Still in the Publish tab, locate the Embed on a web page section and click the Configure link. Here you can adjust the display dimensions of your form — set the width and height so it fits seamlessly into your webpage layout, whether you want a compact sidebar widget or a full-width section.
Copy the HTML Code
After configuring the embed size, click the Copy button to copy the automatically generated HTML code. This snippet includes all necessary elements to display your live form correctly on your site.
Paste the HTML Code on Your Website Pages
Open your website builder or CMS (for example, WordPress, Wix, or Squarespace), navigate to the page where you want the form to appear, and paste the HTML code into the desired section. Save or update the page — your AidaForm is now embedded and ready to collect responses.
In order to learn how to correctly add html code to your web pages, please refer to the instructions of the CMS you use. Usually the process is simple, but there may be some small peculiarities specific to website engines.
Also check our instruction on how to add AidaForms on Wix-powered websites and how to get Wordpress Forms.
An Alternative Way to Use AidaForms on Your Website
You may not always need to embed your created form on your website. There is an alternative way to use AidaForms on your website. This way is easier and works perfectly for feedback forms and long complex forms which are quite difficult to arrange on existing web pages.
Simply copy the URL of the created form and add the URL to the buttons on your website.
In this case, your form will open in a new browser window and will look exactly as you see it in AidaForm service.